
What’s the point of gaming?
To relax? Have fun? Develop skills?
Yes.
And, maybe most importantly, we want to provide you a place to create.
We want to give you the chance to step into the frontier of a game that’s new, easy-to-learn but hard-to-master, and full of opportunities to create strategies no one’s seen before.
To do that, the theme of Dragon Lords is choice points: We want to provide a platform for as many creative, strategic, and meaningful decisions as possible. That’s why we have two dozen unique hero options and hundreds of armies for you to build your stacks with.
But stack building is just the beginning.
There are more than 200 items to be discovered by your heroes as a search ancient ruins. There are 50+ unique scrolls that can influence the strategic map. There are 50+ city buildings that you can use to develop your empire. There are more than 150 unique governors you can hire to boost your city’s capabilities.
And on and on.
Before turn one starts, you’ll make numerous decisions that will influence your playstyle throughout the course of the game. Taken alone, each of these decisions isn’t pivotal. But, combined together, you’ll create the synergies that will fuel your empire.
These decisions include choosing your:
Deity
Faction
Leadership Style
Governance Style
Economic Policy
Intelligence Directive
Starting Hero
Starting Armies
Starting Scroll Cache
Below, you can explore these initial decisions. We think you’ll quickly begin to feel a pull toward some of the options. That’s exactly what we want. We want to see the unique blend of choices that will culminate in your grand strategy!

Doctrine:


Dragon lords is about discovering, developing, deceiving, and dominating. All of these components of running your empire are important. But you will decide which of the four doctrine’s you’ll specialize in.
Before the game starts, you’ll choose your doctrine, which has a small but noticeable effect on your empire and armies and determines all future bonus options.
On turn five, you’ll choose one of three additional bonuses from within your doctrine. On turn ten, you’ll chose one of four additional bonuses. And on turn twenty and turn forty, you’ll choose one of six additional bonuses.
Discover:
Develop:
Deceive:
Dominate:
Players who choose the discover doctrine usually believe that power and might are important…but having that power and might in the right place at the right time is what makes all the difference. As a result, discover doctrine players emphasize speed, vision, and flexibility.
As a result, the discover doctrine emphasizes unit speed, unit vision, exploration, and map awareness. Early bonus options include increase the speed and vision of all friendly armies or access to early scouting units. Later bonuses provide reduction in cost or build time of exploration-focused units and buildings and instant knowledge of the location of cities and ruins.
Players who choose the develop doctrine recognize the importance of strong armies. It’s just that they are keenly aware that the best way to field the largest amount of the most formidable armies is to have the economic foundation to do so. So, develop doctrine players emphasize city development, economic growth, and gold acquisition.
This means that the develop doctrine, in addition to providing the player extra gold at the beginning of the game, provides the player options to reduce the cost of city buildings, generate more prestige, create trader and merchant units, and increase gold generated per turn.
Deceive doctrine players recognize that armies and gold are valuable. Yet, they aren’t nearly as valuable if they can’t be deployed. Dragon Lords offers a simple-but-deep set of spy mechanics. Players who don’t monitor enemy spy activity can find their empire paralyzed, or worse, by enemy agents. Deceive doctrine players are highly attuned to the power of the right disruption at the right place at the right time. Are a city’s defenses just barely hanging on thanks an enemy dragon? It would be a shame if that dragon was assassinated. Is your empire running short on funds? It’s nice to have spies capable of quickly obtaining you more from enemy player treasuries.
The deceive doctrine allows players who are drawn toward this shadowy approach to increase the power of their offensive and defensive spies, reduce the cost of these spies, and weaken enemy player agents.
Dominate players have a different approach. Discover? Develop? Deceive? Dominate doctrine players came to conquer. And the tried-and-true way to conquer your enemies is to have the most powerful armies on the map. Marshalling the strongest armies is exactly what the dominate doctrine does. No beating around the bush. Just strong armies coming straight at you.
The dominate doctrine permits players who prefer a direct, in-your-face style to supplement the number, strength, and punch of their armies. Early bonuses provide small increases to unit combat value. Mid-range and later bonus options provide flexible approaches, including quickly adding new units to the empire, training armies to increase their effectiveness, and even calling on dragons to aid the war effort. There’s nothing a dominate doctrine player loves more than asking his opponent: “How is your map / city building / spy going to help you as my dragons storm your capitol?”
Deity:

Dragon Lords is about creating your own unique play style. As part of that process, after you choose your doctrine, you’ll choose your deity from a pool of over 50 unique Gods. Here are some examples:
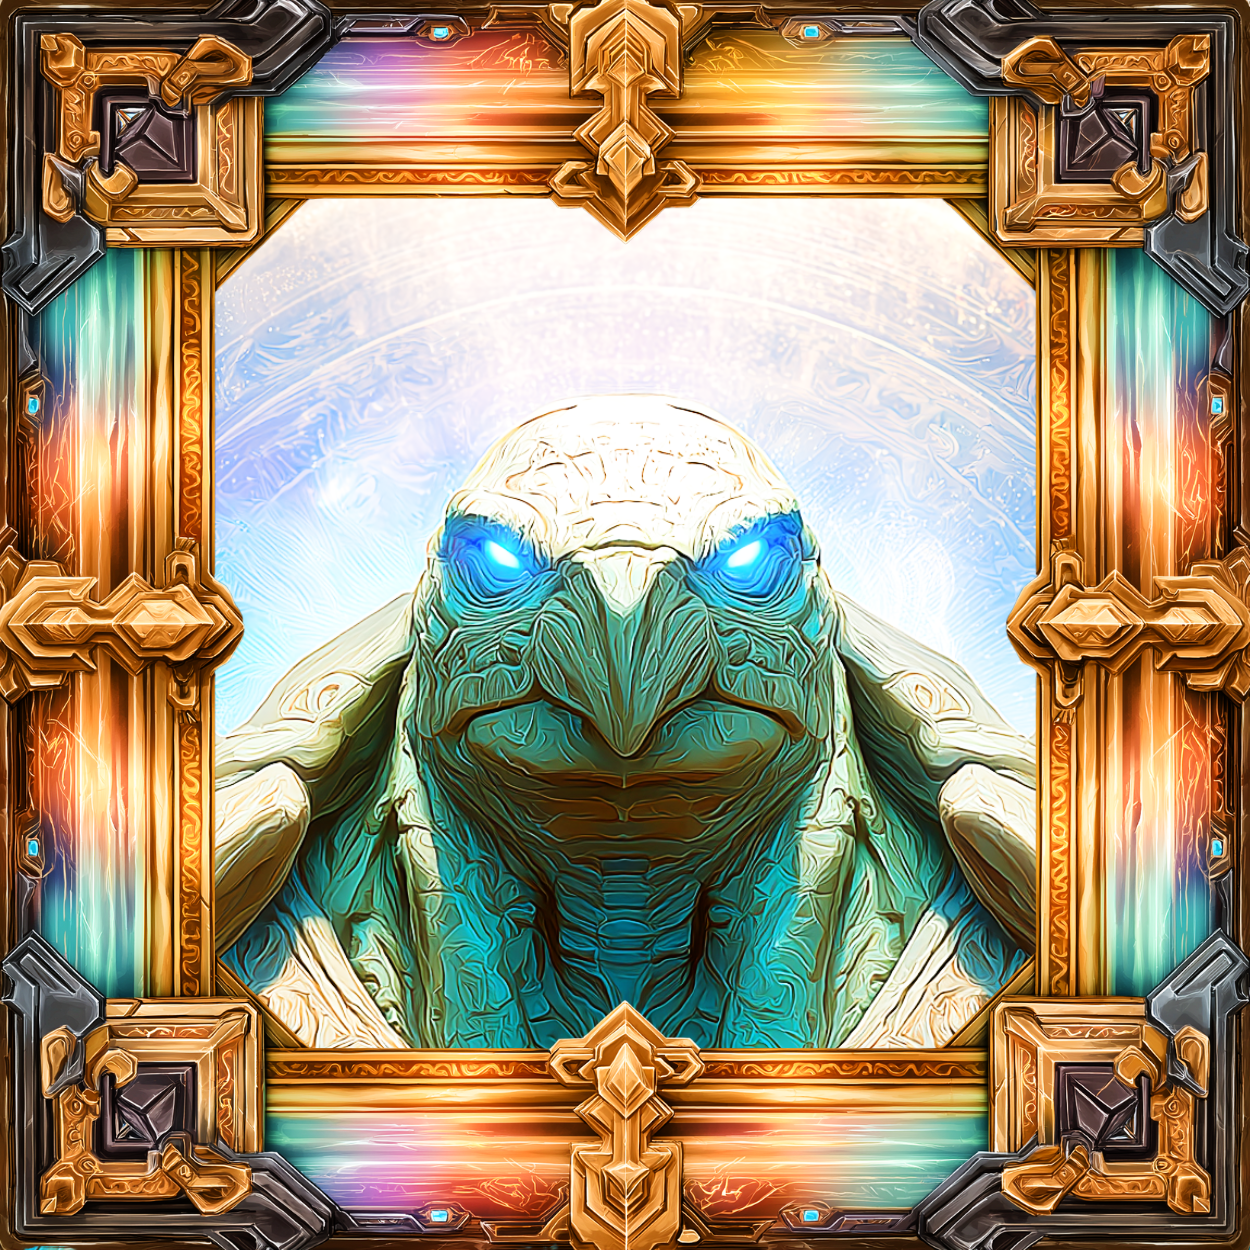
Copian God of Wealth:
Player’s capitol city generates +100 gold; All friendly cities generate +5 gold.
Umbraculum God of Disguise:
All friendly spy rolls receive -4.
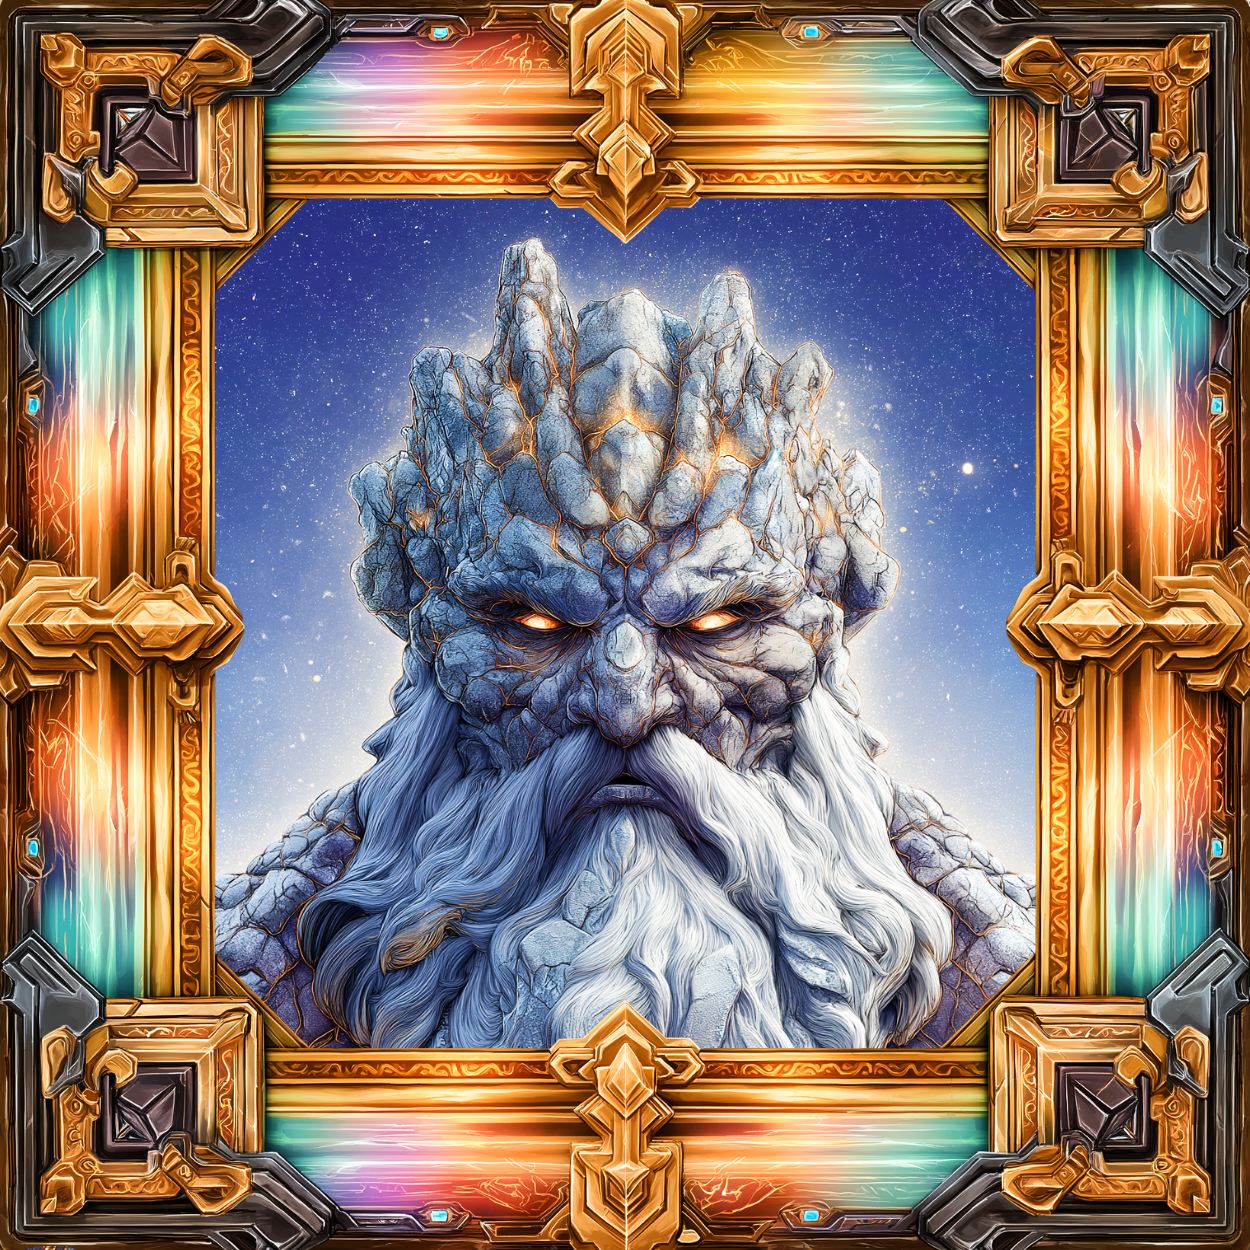
Granthor God of Mountains:
All friendly units receive Mountainwalk 8.
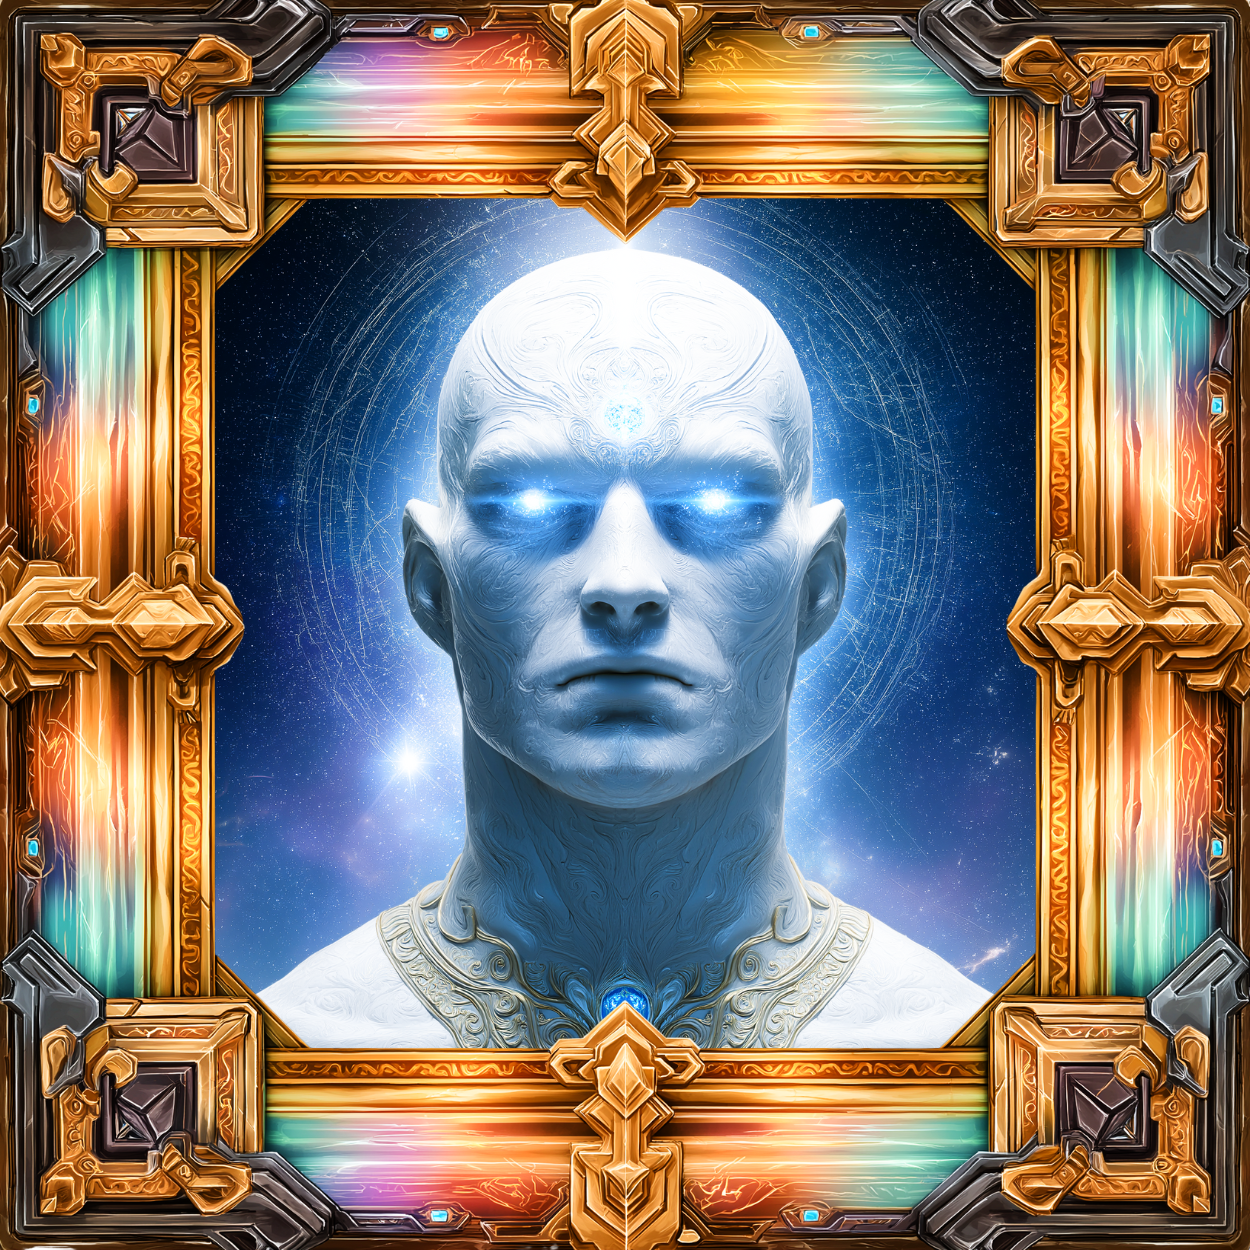
Visus God of Awareness:
All friendly units receive +1 vision; All friendly cities receive +2 vision; All friendly units receive +2% vigilance.

Tempus the Time God:
Player starts with one charge; Gains one charge every 45 turns; Use one charge: Enemy player skips his next turn.

Zuffle God of Luck:
Player starts with one charge; Gain one charge every seven turns; Maximum three charges; Use one charge after a battle: The entire battle is rerolled.
Anemor God of Remembrance:
Any time a friendly unit is destroyed, gain one charge. Use 50 charges: Target friendly stack (global) gains a permanent +4 combat and +4 movement
Tutela God of Protection:
All friendly units receive +2 defend.
Leadership Style:


With 4 doctrines and more than 50 deities, we’ve already got more than 200 play styles.
We’re just getting started.
After choosing your deity, next up is selecting your leadership style from our pool of more than a dozen options.
Here’s a sample:


Charismatic:
Player gains +4 prestige per turn.
Economic:
Player receives +40 gold per turn.
Subversive:
-3 to all friendly spy rolls.
Aggressive:
Once per turn, player may give +5 attack to target friendly unit until the end of turn.
Dynamic:
Once per turn, player may give +4 movement to target friendly unit until the end of turn.
Stoic:
Gain one charge every three turns; Maximum three charges; Use one charge: Target friendly unit gains immunity until the beginning of player’s next turn.
Governance Style:
Corrupted:
Any time an enemy unit dies within a friendly city, at the end of the turn, a random friendly unit within that city permanently gains +1 combat.
There’s leadership. And then there’s governance. It’s your job to choose from more than 25 governance styles that fits your strategic approach to the game. Here are some of your possible choices:
Developmental:
All friendly city building costs are reduced by 5%.

Healthy:
Friendly apothecaries have their cost reduced from 1,000 to 500.
Logistical:
Friendly units that begin the turn within a friendly city or within the vision radius of a friendly city receive +2 movement points until the end of turn; All units that start a turn within a friendly city or within the vision radius of a friendly city pay 25% reduced upkeep for that turn.
Entrenched:
All friendly cities receive a +2 wall bonus; Friendly player’s capitol starts game at level 30 walls instead of level 15 walls.

Imperial:
All friendly cities generate +2 prestige; Friendly capitol generates +8 prestige.
Mobilizer:
The first turn a friendly unit is produced, it gains +6 movement for one turn; Units produced at friendly player’s capitol gain a +2 movement bonus.

Flexible:
Player may destroy an ability to produce an army and refund 20% of the gold cost to produce that army type; Player may destroy a city building to refund 20% of the gold cost to build that city building. Player does not have to pay the normal cost to destroy army production type or city building.

Industrious:
The cost to build new army types at friendly cities is reduced by 10%.

Reanimator:
Any time an enemy unit dies within a friendly city, at the end of the turn, there is a 50% chance that a friendly Skeleton unit is generated; Player begins game with a Necromancer unit in friendly capitol.
Gallant:
Player begins game with two Knight units in player’s capitol; At the beginning of turn 10, player gains two more Knight units at a friendly city of player’s choice.
Interplanar:
Friendly Rifts have their cost reduced from 900 gold to 450 gold; Friendly Portals have their cost reduced from 2,500 gold to 1,500 gold; Friendly capitol city begins game with a Rift.
Economic Policy:


You’ve got to lead. You’ve got to govern. But how will you approach gold, the primary in-game resource?
We’ve got more than a dozen, unique economic policies to choose from.
Take a look at a handful of them:


Bounty:
Each time player destroys an enemy hero, player gains X gold and Y prestige where X is equal to 400 * the level of the enemy hero killed and Y is equal to 25 * the level of the enemy hero killed. Each time player destroys an enemy dragon, player gains 400 gold and 25 prestige.
Exploration:
Each time player discovers a new city, gain 50 gold; Each time player discovers a new walled-town, gain 10 gold; Each time player discovers a new map building, gain 20 gold; Each time player discovers a new income building, gain 10 gold; Each time player discovers a new ruin, gain X gold, where X is equal to the ruin level times 20.
Prosperity:
Each friendly city produces an additional 20 gold per turn.
Salvage:
Each time player destroys an enemy unit in a battle won by player, player gains X gold, where X is equal to 5-times the unit's time to build; Each time one of player's friendly units is destroyed in a battle won by player, player gains X gold, where X is equal to 5-times the unit's time to build; This effect does not apply if friendly player loses the battle.
Tribute:
At the beginning of each turn, players adds 20% of his prestige as gold to player's treasury; On any turn, player may choose to exchange prestige for gold at a ratio of give up 1 prestige = gain 4 gold.
Accrual:
At the beginning of each turn, player adds gold to their treasury equal to 10% of their current treasury.
Endowment:
Player starts with an additional 1,600 gold.
Plunder:
Whenever player captures a city, friendly player gains 250 gold and enemy players loses 250 gold.
Requisition:
Player may disband a friendly unit within a friendly city and obtain 5% of the unit's cost to produce.
Spartan:
Player’s total unit upkeep cost is reduced by 30%.
Intelligence Directive:

Assessment:
Provides information on the enemy doctrine, deity, leadership style, governance style, intelligence directive, economic policy, current governors, number of defensive spies, number of offensive spies, and number and type of city buildings produced.
Choosing your intelligence directive is the last empire-wide choice you’ll make before the game begins. But by no means is it the least important. It might be the most important. Your intelligence directive provides you invaluable information about your opponent. But what type of information are you most interested in?

Attunement:
Provides information about enemy player's heroes, including their level, class, and items.

Lore:
Provides information on the starting location of the enemy player's capitol (hidden under fog of war); Provides information on the enemy player's number and type of scrolls; Provides information on the enemy player's number and type of dragons; Provides information on enemy player's current amount of prestige.

Tabulation:
Provides information on enemy gold amount, prestige amount, city count, walled town count, income building count, map building count, number (but not type) of city buildings produced, and army composition. Army composition information does not include each army enemy player controls. Instead, army composition includes information structured like: Enemy player has V build-in-one-turn units, W build-in-two-turn units, X build-in-three-turn units, Y build-in-four-turn units, and Z build-in-five-turn-plus units.
Heroes:

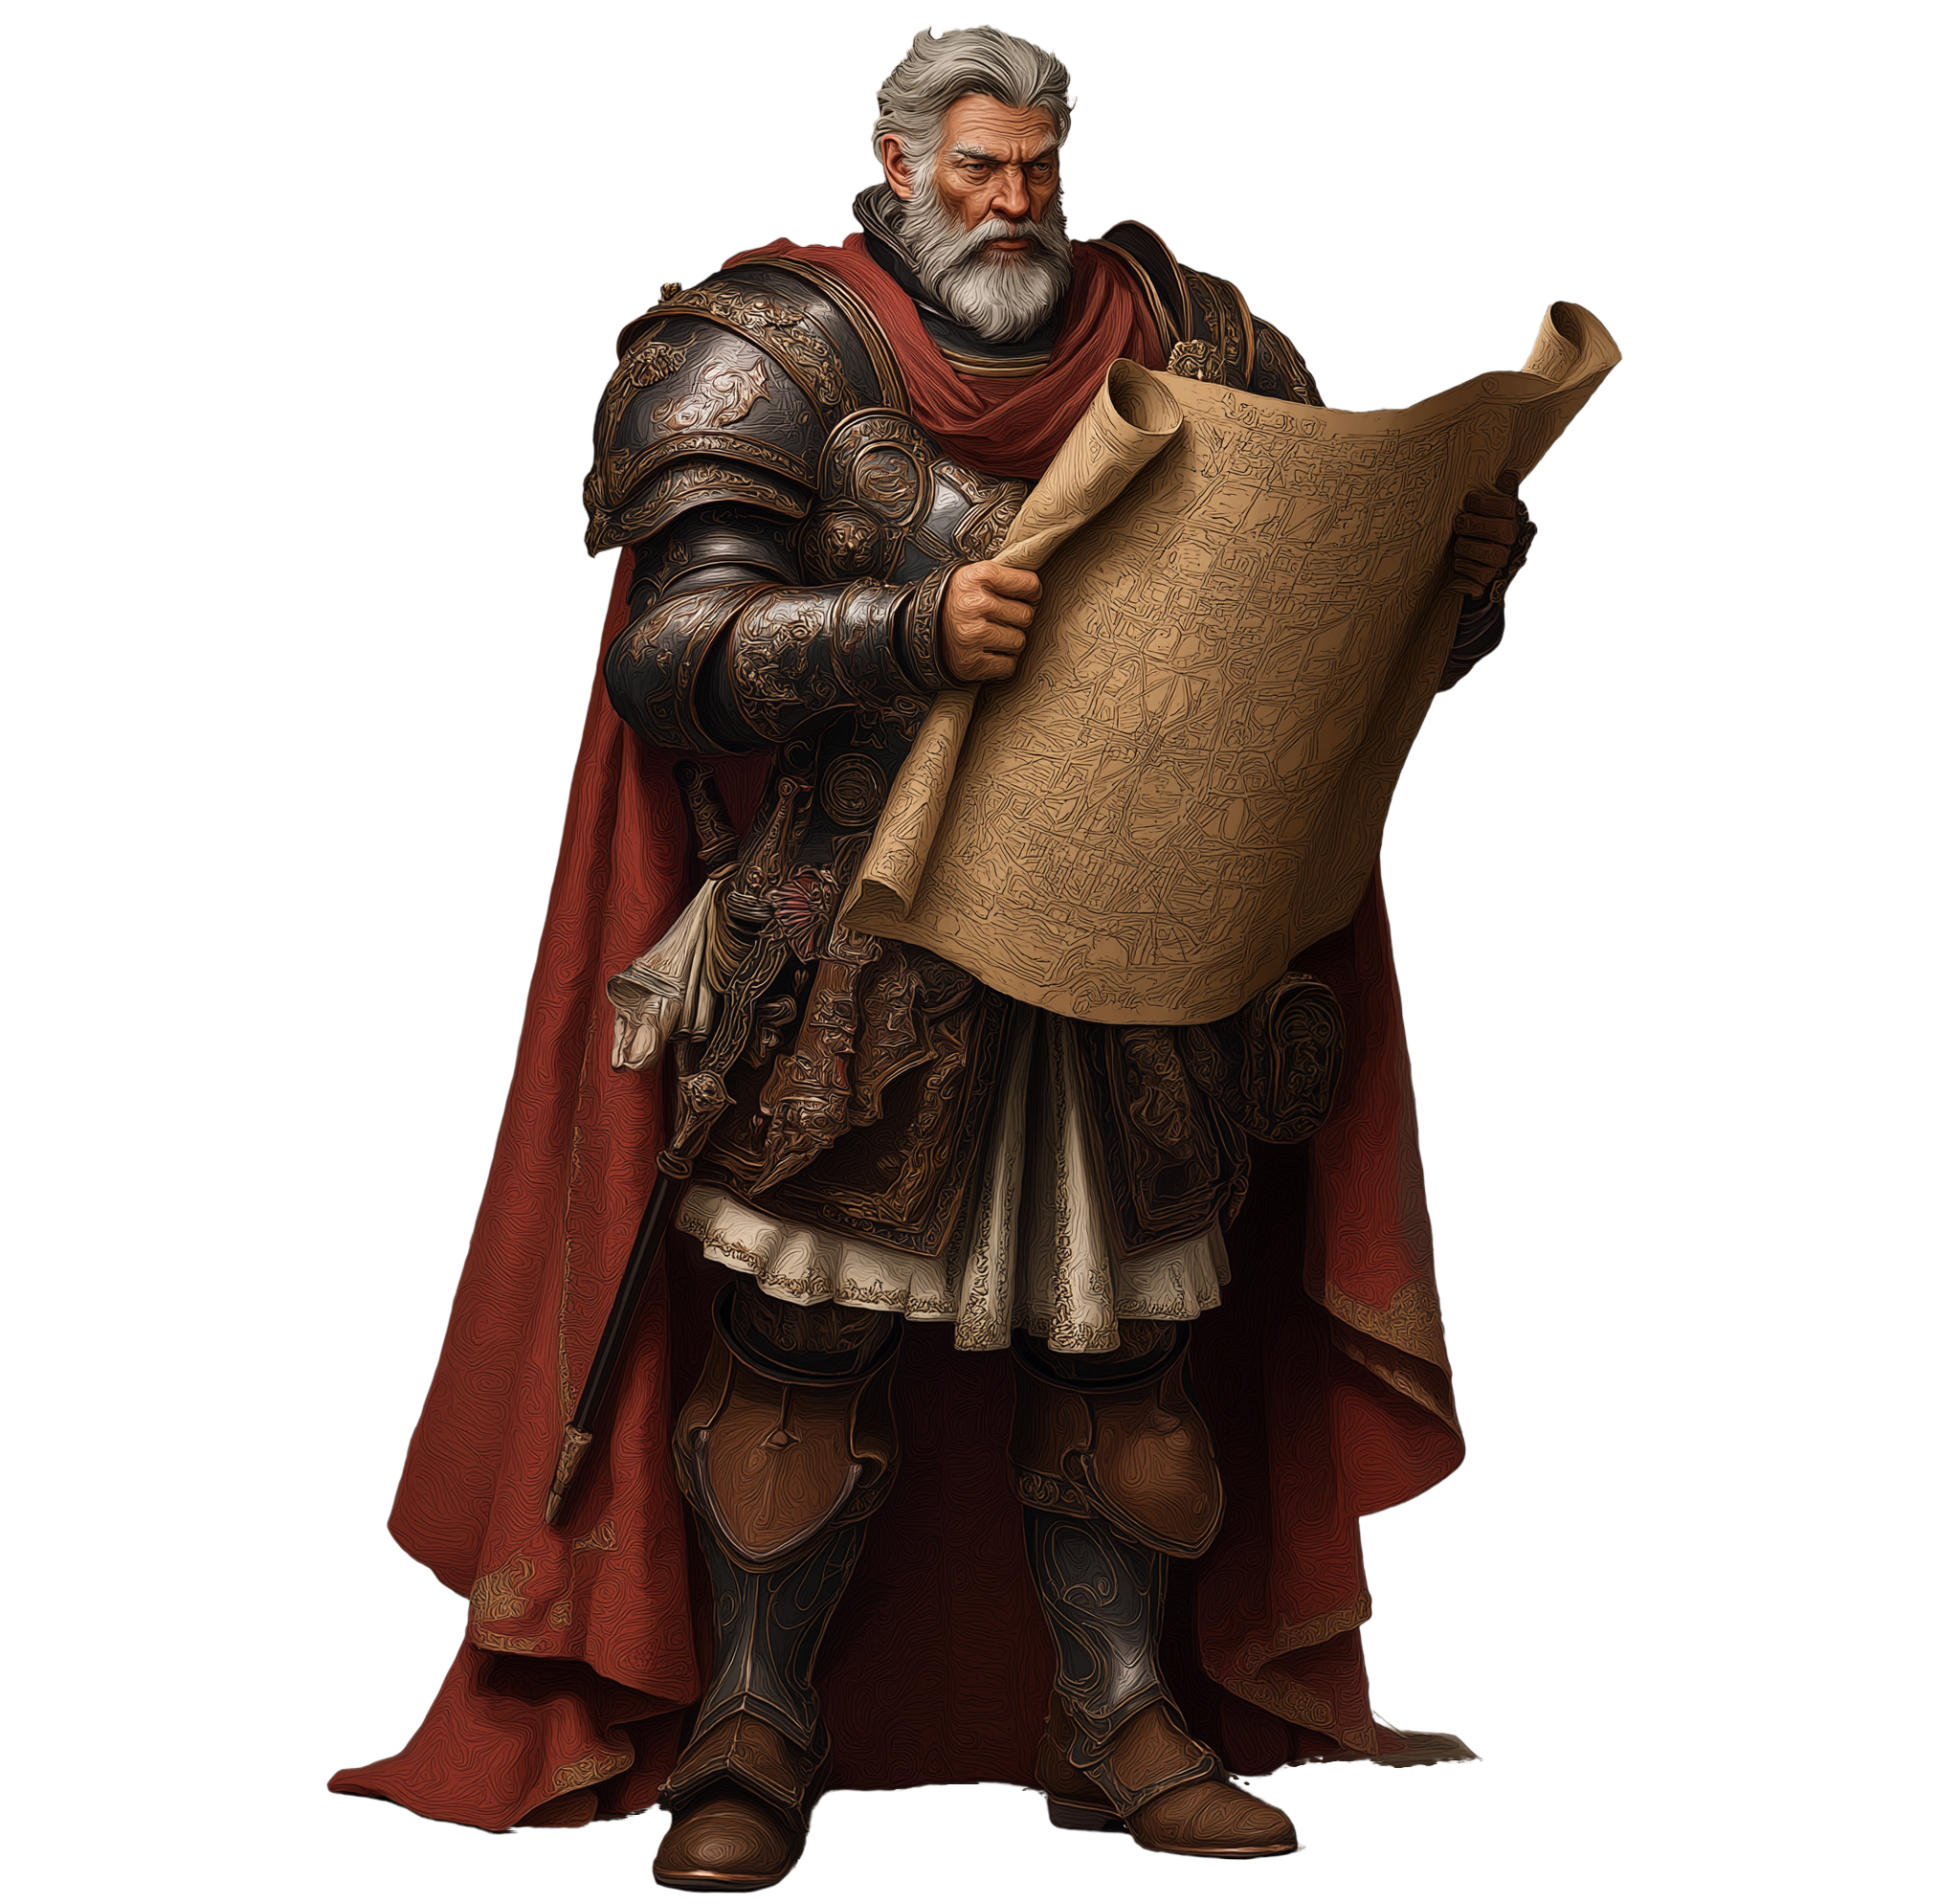
One of the most basic concepts in Dragon Lords is the hiring and use of heroes. Heroes are powerful units, each with their own entirely different skill tree and play style. Dragon Lords currently has 24 hero types. With more than 40 skills per hero, you’ll not only choose what kinds of heroes you’ll hire, but how you’ll develop those heroes. As you can see, the possibilities are vast.
At the beginning of the game, you’ll choose the class of your first hero. For the remainder of the game, you’ll periodically be offered the chance to hire additional heroes. You can increase the chances of hiring new heroes by increasing your prestige, which we’ll talk about later.
For now, let’s get a look at some of the hero classes.
Assassin:
You’ve probably heard the phrase “death by a 1,000 cuts”. Well, if you haven’t heard about it, you might get to experience it if your opponent develops a high level Assassin and you don’t have the tools to slow that Assassin down.
Unlike most heroes in Dragon Lords, the Assassin is not allowed to be in a stack with other units. He works alone. And by “works”, we mean kills.
The Assassin is a hit-and-run hero, capable of hunting down enemy stacks, disabling key units, executing enemy armies, and leaving the scene all without entering formal combat. Of course, there are ways to slow the Assassin down. But, with cunning play, the Assassin can wait, watch, and, when the time is right, strike.
Players who enjoy pressuring their opponent consistently, slowing them down, tiring them, chipping away, and, eventually, delivering the final fatal blow will be drawn toward choosing an Assassin as their first hero.
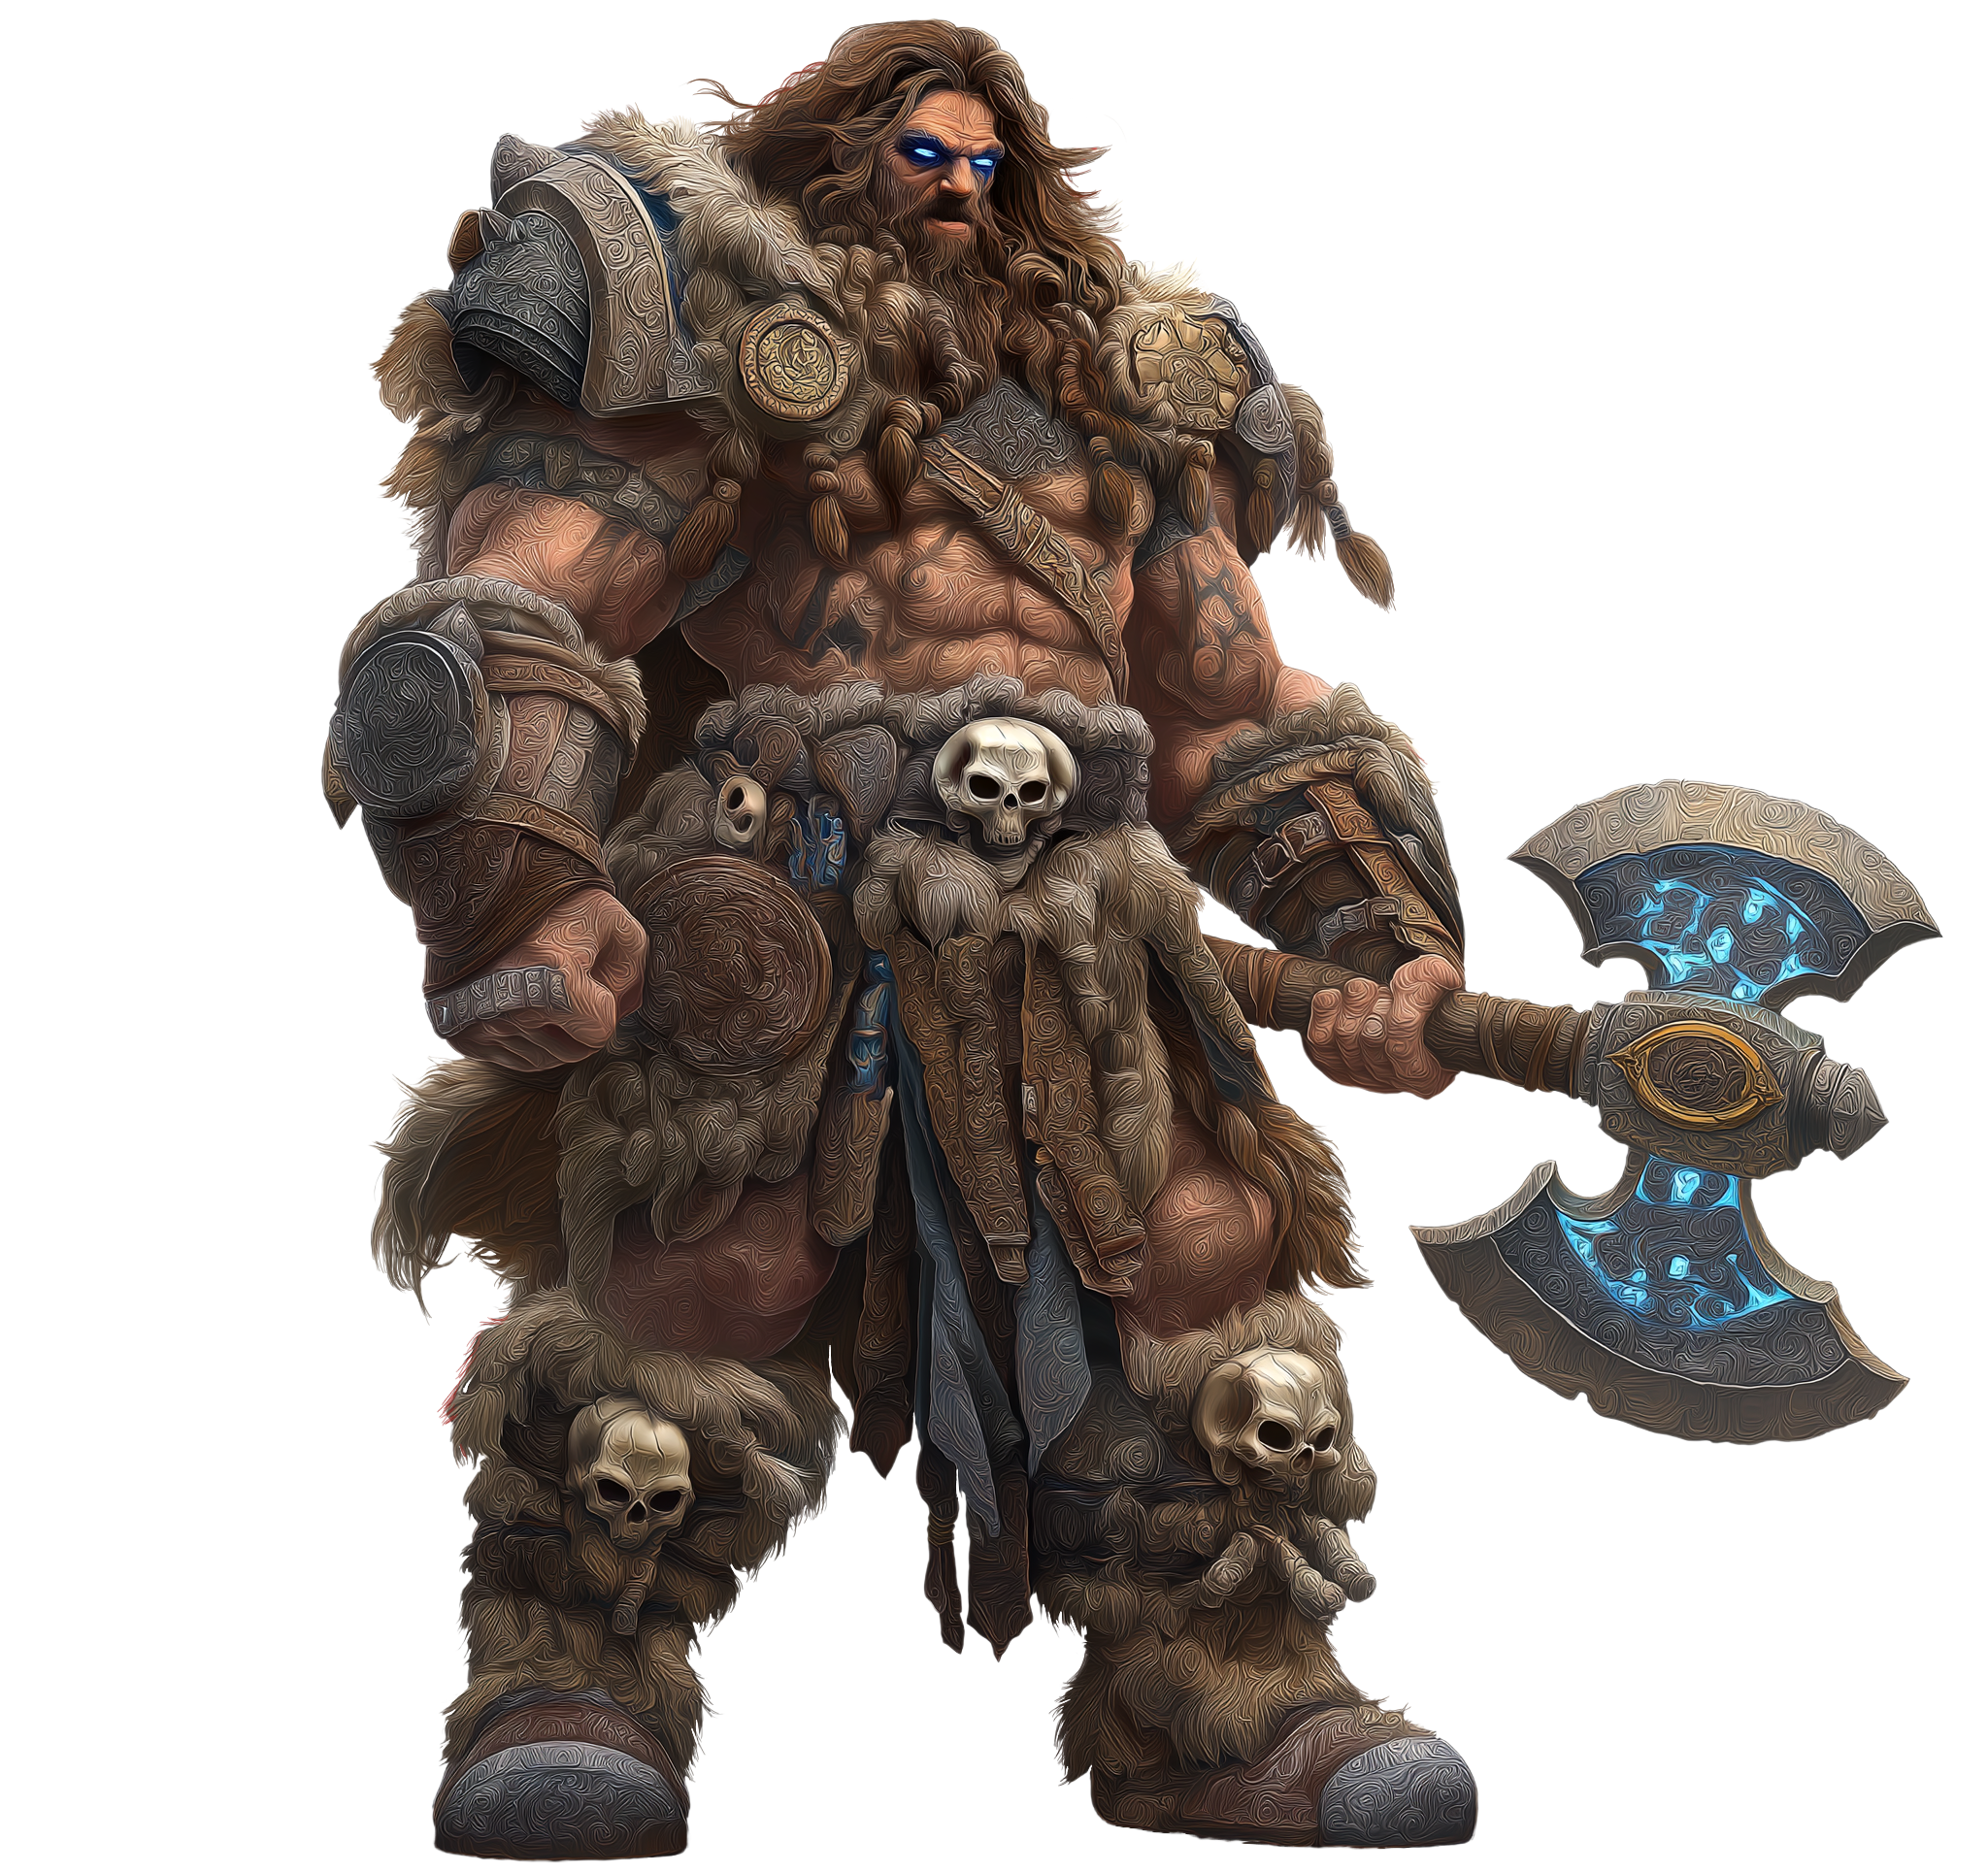
Barbarian:
The Barbarian isn’t death by 1,000 cuts. He’s death by a single axe to the chest, fist to the head, and foot to the neck.
The Barbarian is a single-unit powerhouse, capable of single-handedly dominating large enemy stacks. If a Barbarian becomes high enough level, he’s capable of destroying dozens of enemy units all on his own. And he’s capable of leveling prowess and finesse abilities which allow him to neutralize the more advanced skills of higher-tier enemy units. We won’t even spend time discussing what happens if the Barbarian gets his rage going (my brief advice in that situation is: RUN!).
To supplement his combat power, the Barbarian can also level up his abilities that improve his skill at searching ancient ruins. Thus, while the Barbarian doesn’t provide support to allied armies, he makes up for it with his aggressive, direct application of force, whether to enemy armies or the horrors found in ancient ruins.
Players who are drawn to choosing the Barbarian as their first hero probably also like the phrase: “Never mind the maneuvers, just go straight at ‘em.” Some might think this raw-power approach simplistic. But Barbarian-prone players know there’s a deep wisdom to identifying your target and bringing all of your energy and power to bear with unrelenting focus and force.
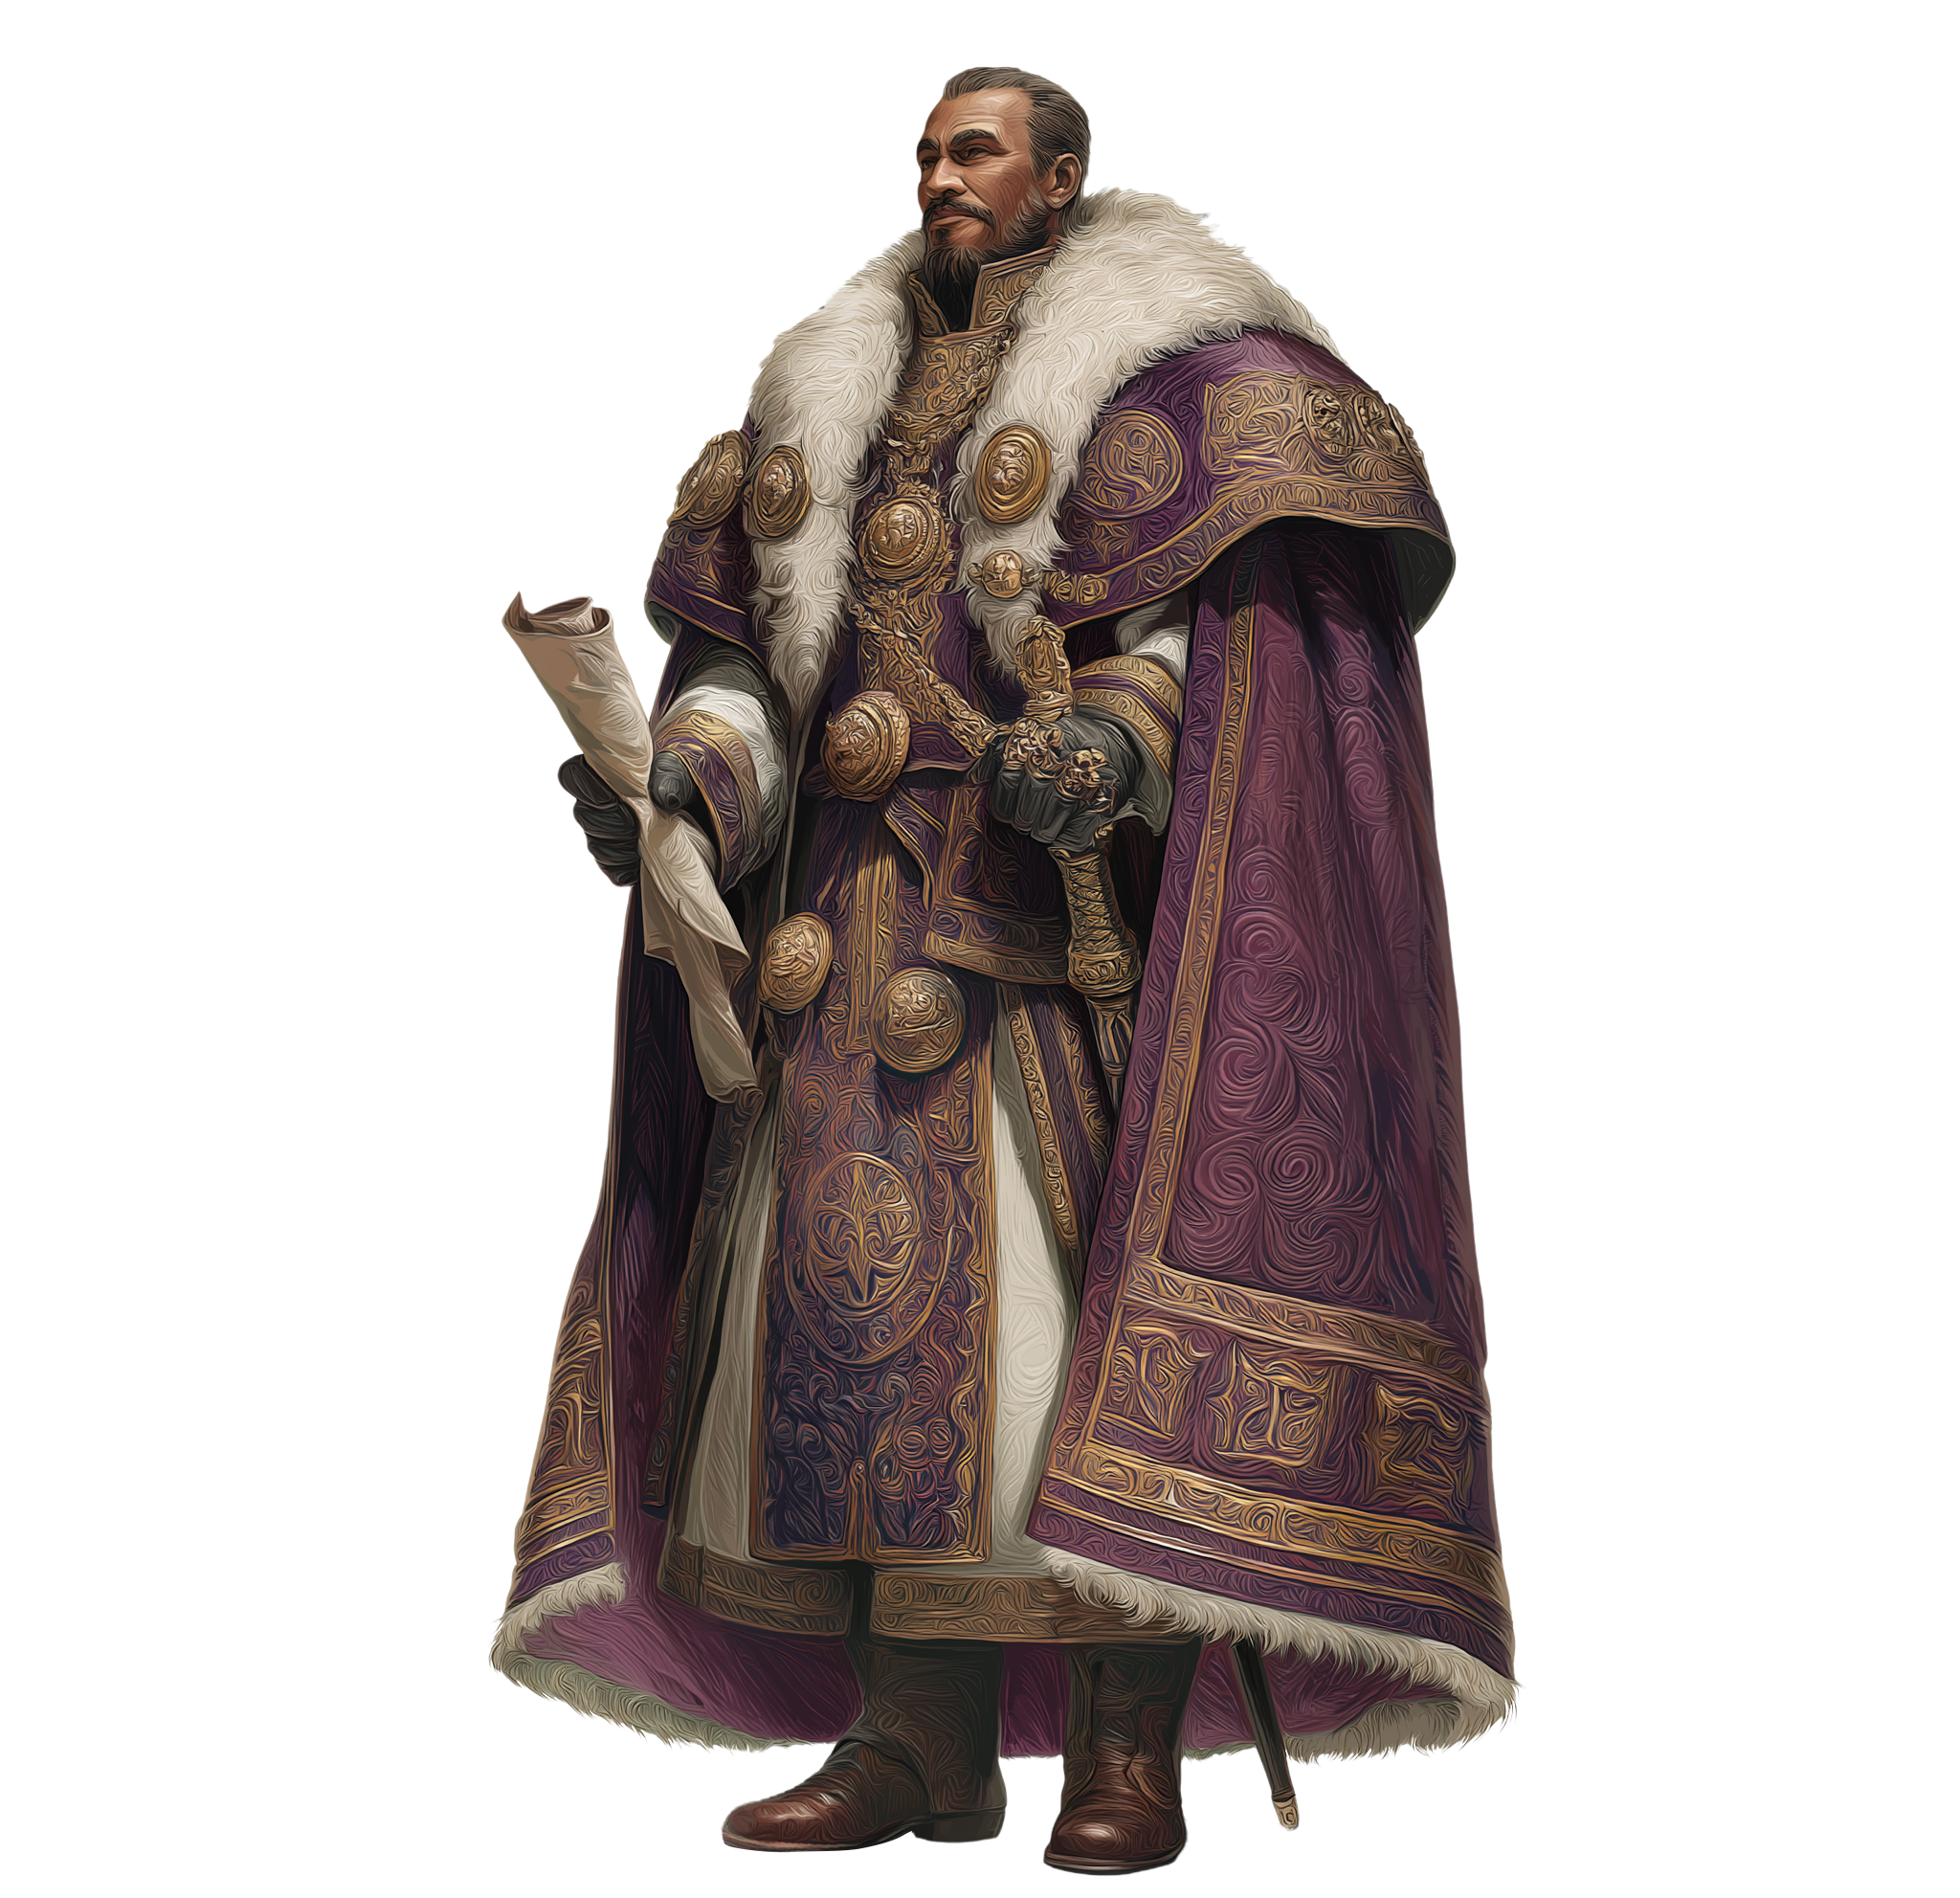
Chancellor:
You might not be able to find hero more different from the Barbarian than the Chancellor.
The Chancellor can’t fight at all. Well, it’s not that the Chancellor “can’t” fight…it’s that he fights worse than a unit of light infantry. Of course, you don’t hire a Chancellor to fight. You hire him to boost your econ. And boosting your economic capabilities is the Chancellor’s bread-and-butter.
But economic development is not all the Chancellor is capable of. You can choose to level his ability to support your spy-network, disrupt your opponents treasury, and even aid in the development of your domestic potions and scrolls.
The type of player who favors a Chancellor first hire will usually take seriously the idea that, over a long enough timespan, war is an economic affair. So these players are willing to carefully tend their cities, consistently execute on their plan of development, and reap the late-game rewards as they play the long game.
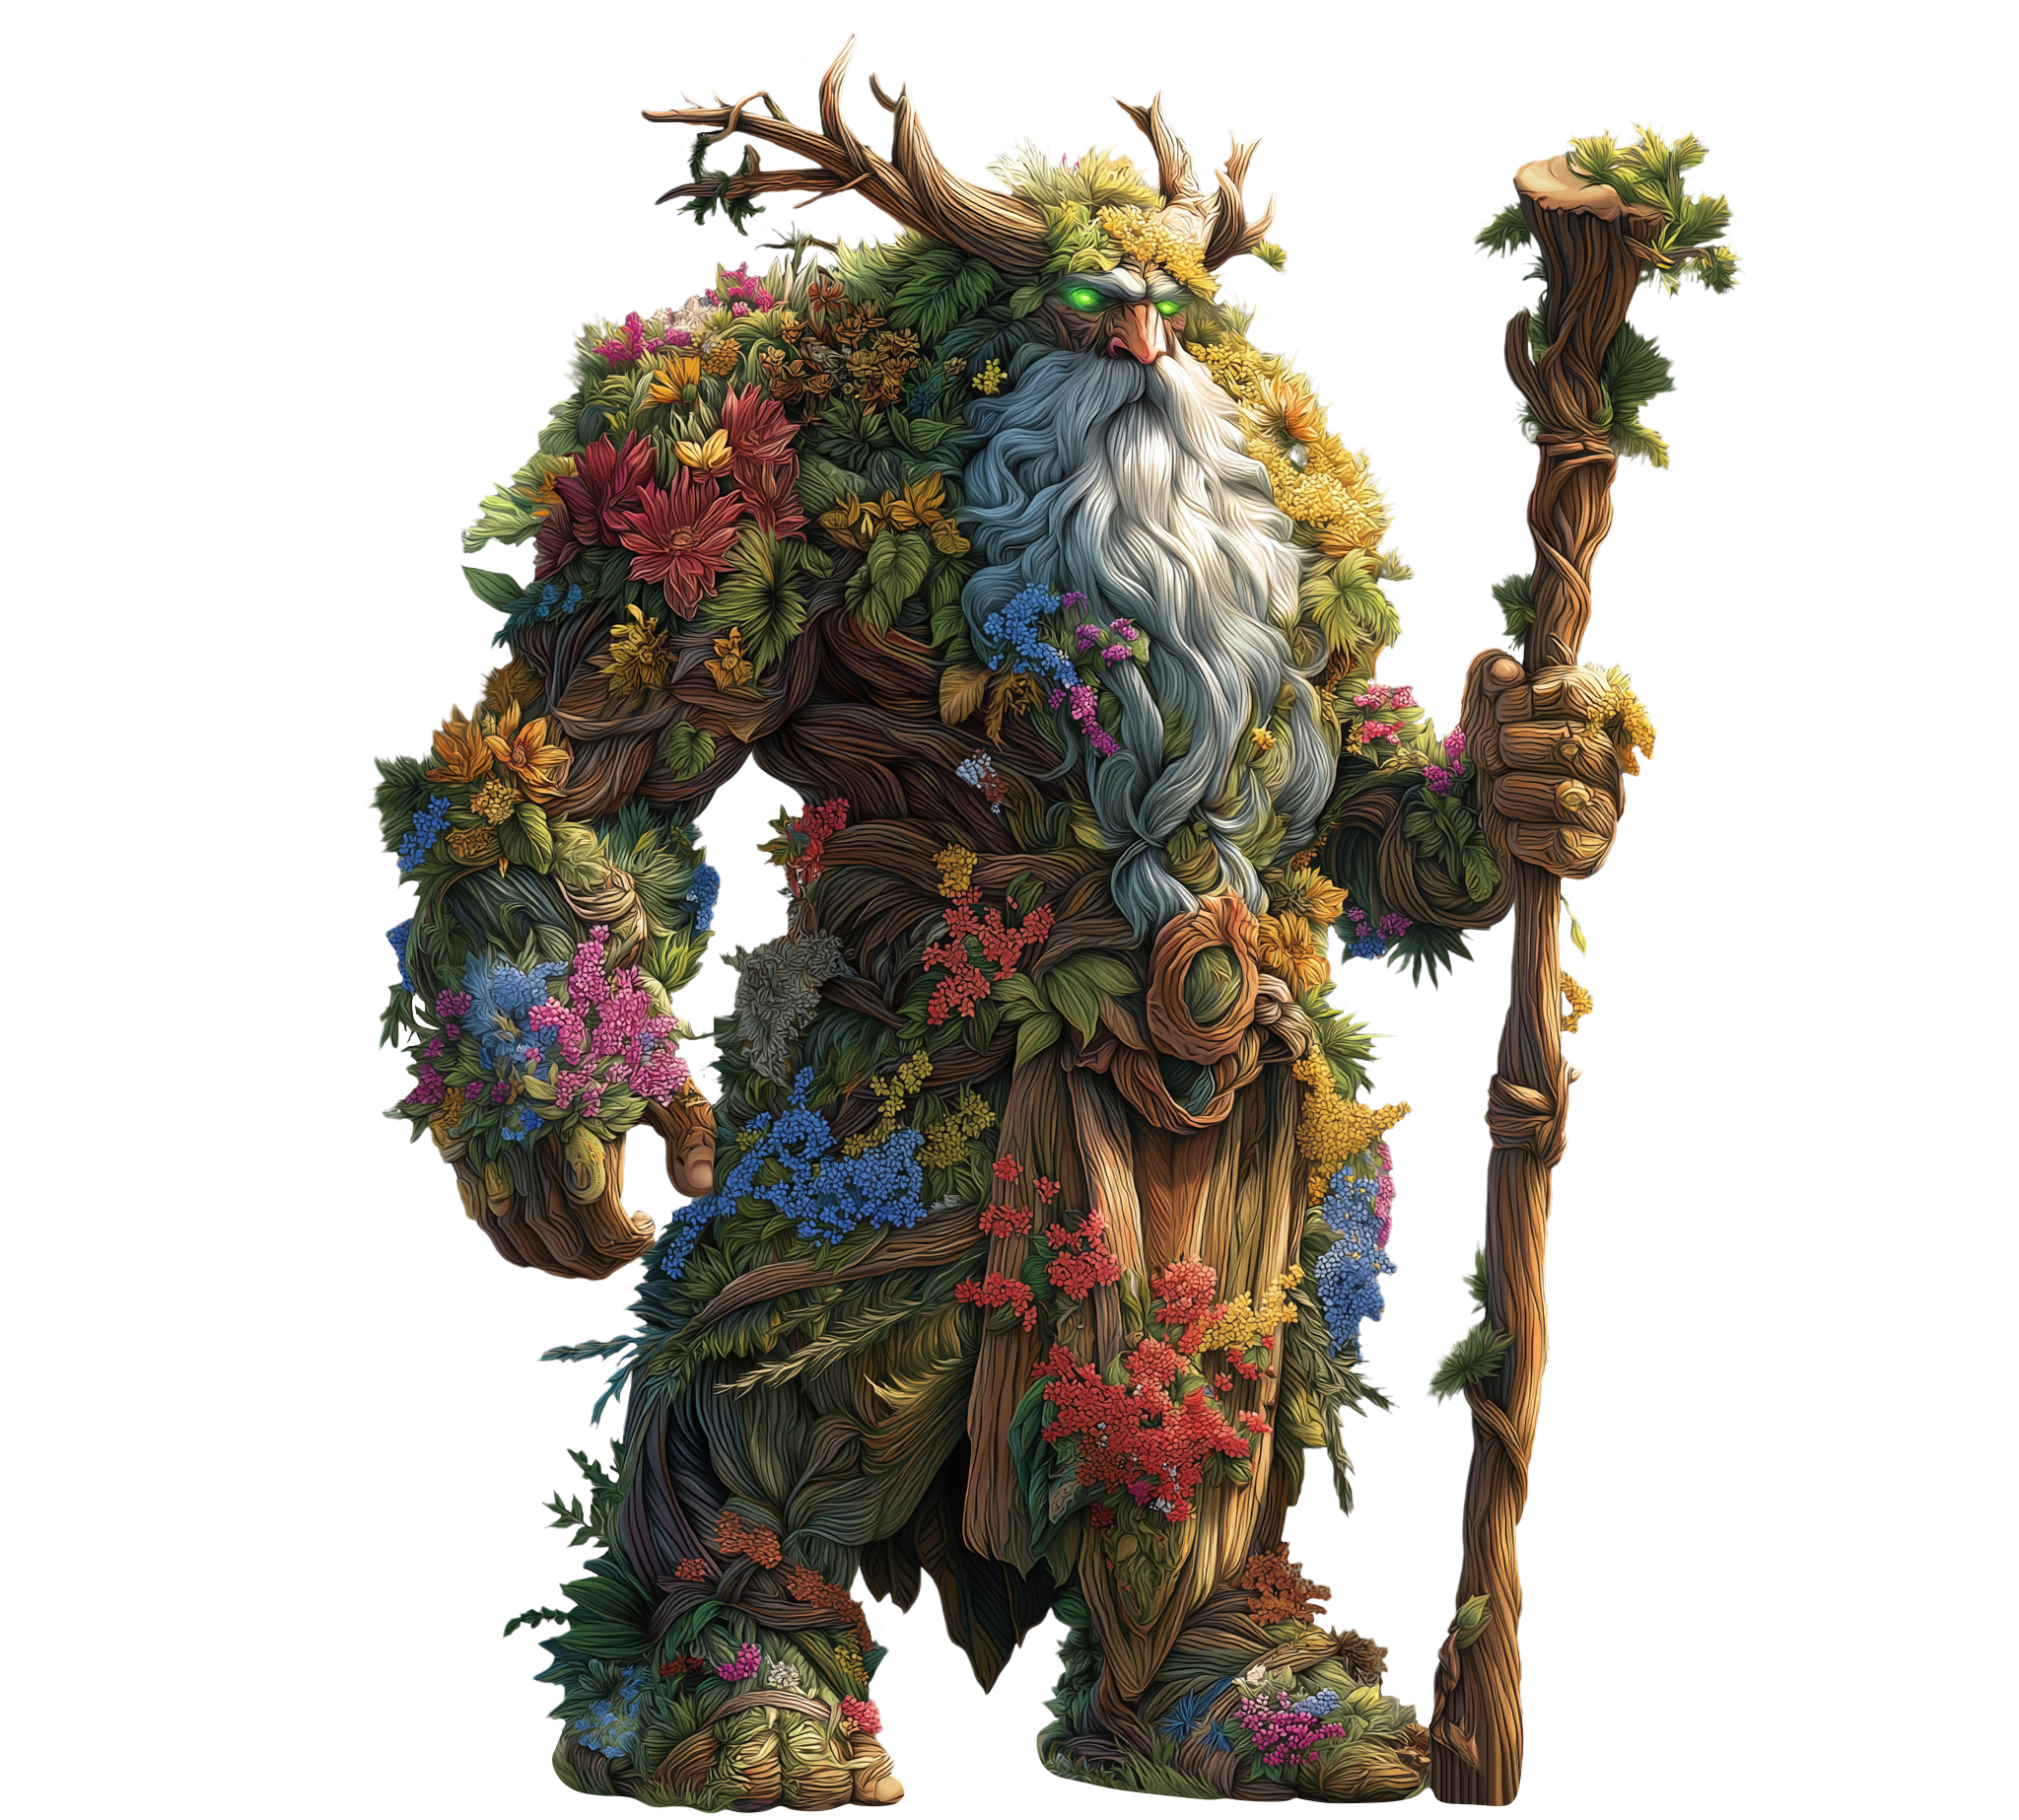
Druid:
In many ways, the Druid is at the other end of the spectrum from the Chancellor. Where the Chancellor develops cities, the Druid hampers enemy city development. The Druid calls upon the power of nature to rot enemy buildings, disrupt enemy production, break enemy walls, hamper the enemy economy, and entangle enemy forces.
But the Druid isn’t just a defender of Nature in the face of enemy civilizational encroachment. He can be built in a way that supplements his spells with strong and versatile shapeshifting ability: Is that a scouting eagle you see? Or is that a Druid in eagle form? If it’s just an eagle, no need to worry. If it’s a Druid (who isn’t as strong as a Barbarian in single combat but is still very formidable), your exposed cities might be in trouble.
The Druid’s spells, combined with his shapeshifting, gives him the ability to quickly move to areas of the map and make his presence felt, either through his powerful magic or his ferocious shapeshifting might.
Druid-first players generally prefer a balanced approach to their strategy. An approach that combines disrupting the enemy, dynamic movement, and, when the time is right, hitting hard. Druid-first players trust that these abilities, skills, and spells combine in a way that’s great than the sum of their parts.
General:
The General could be described as the hero that’s the heart-and-soul of Dragon Lords. That’s because the General is all about stack building. The General’s foundational, and in many ways most powerful, skill is the ability to increase the size of his stack. The default stack size maximum is 8. The General can raise the size of his stack to 13.
Increasing the max stack size is critical because, once a stack gets to a certain size, with synergy upon synergy working together, it can become practically impossible to stop. The challenge faced by the General is that his strengths only really start to be felt later in the game, as truly strong stacks are formed. Until that time, the General does not provide the same level of power boosting effects to his stack as other heroes. Fortunately, the General has a variety of skills to protect himself, his stack, and his empire until that time comes.
Only players who are willing to go all the way into the heart of strategic play are likely to choose a General first. Selecting a General first requires attention to every detail, from city development, army production, intelligence, positioning, and decisiveness. But the payoff for this strategic mastery is watching your opponent squirm in your python-like grip as he realizes that all has been accounted for and he’s powerless to change his inevitable outcome: Defeat.
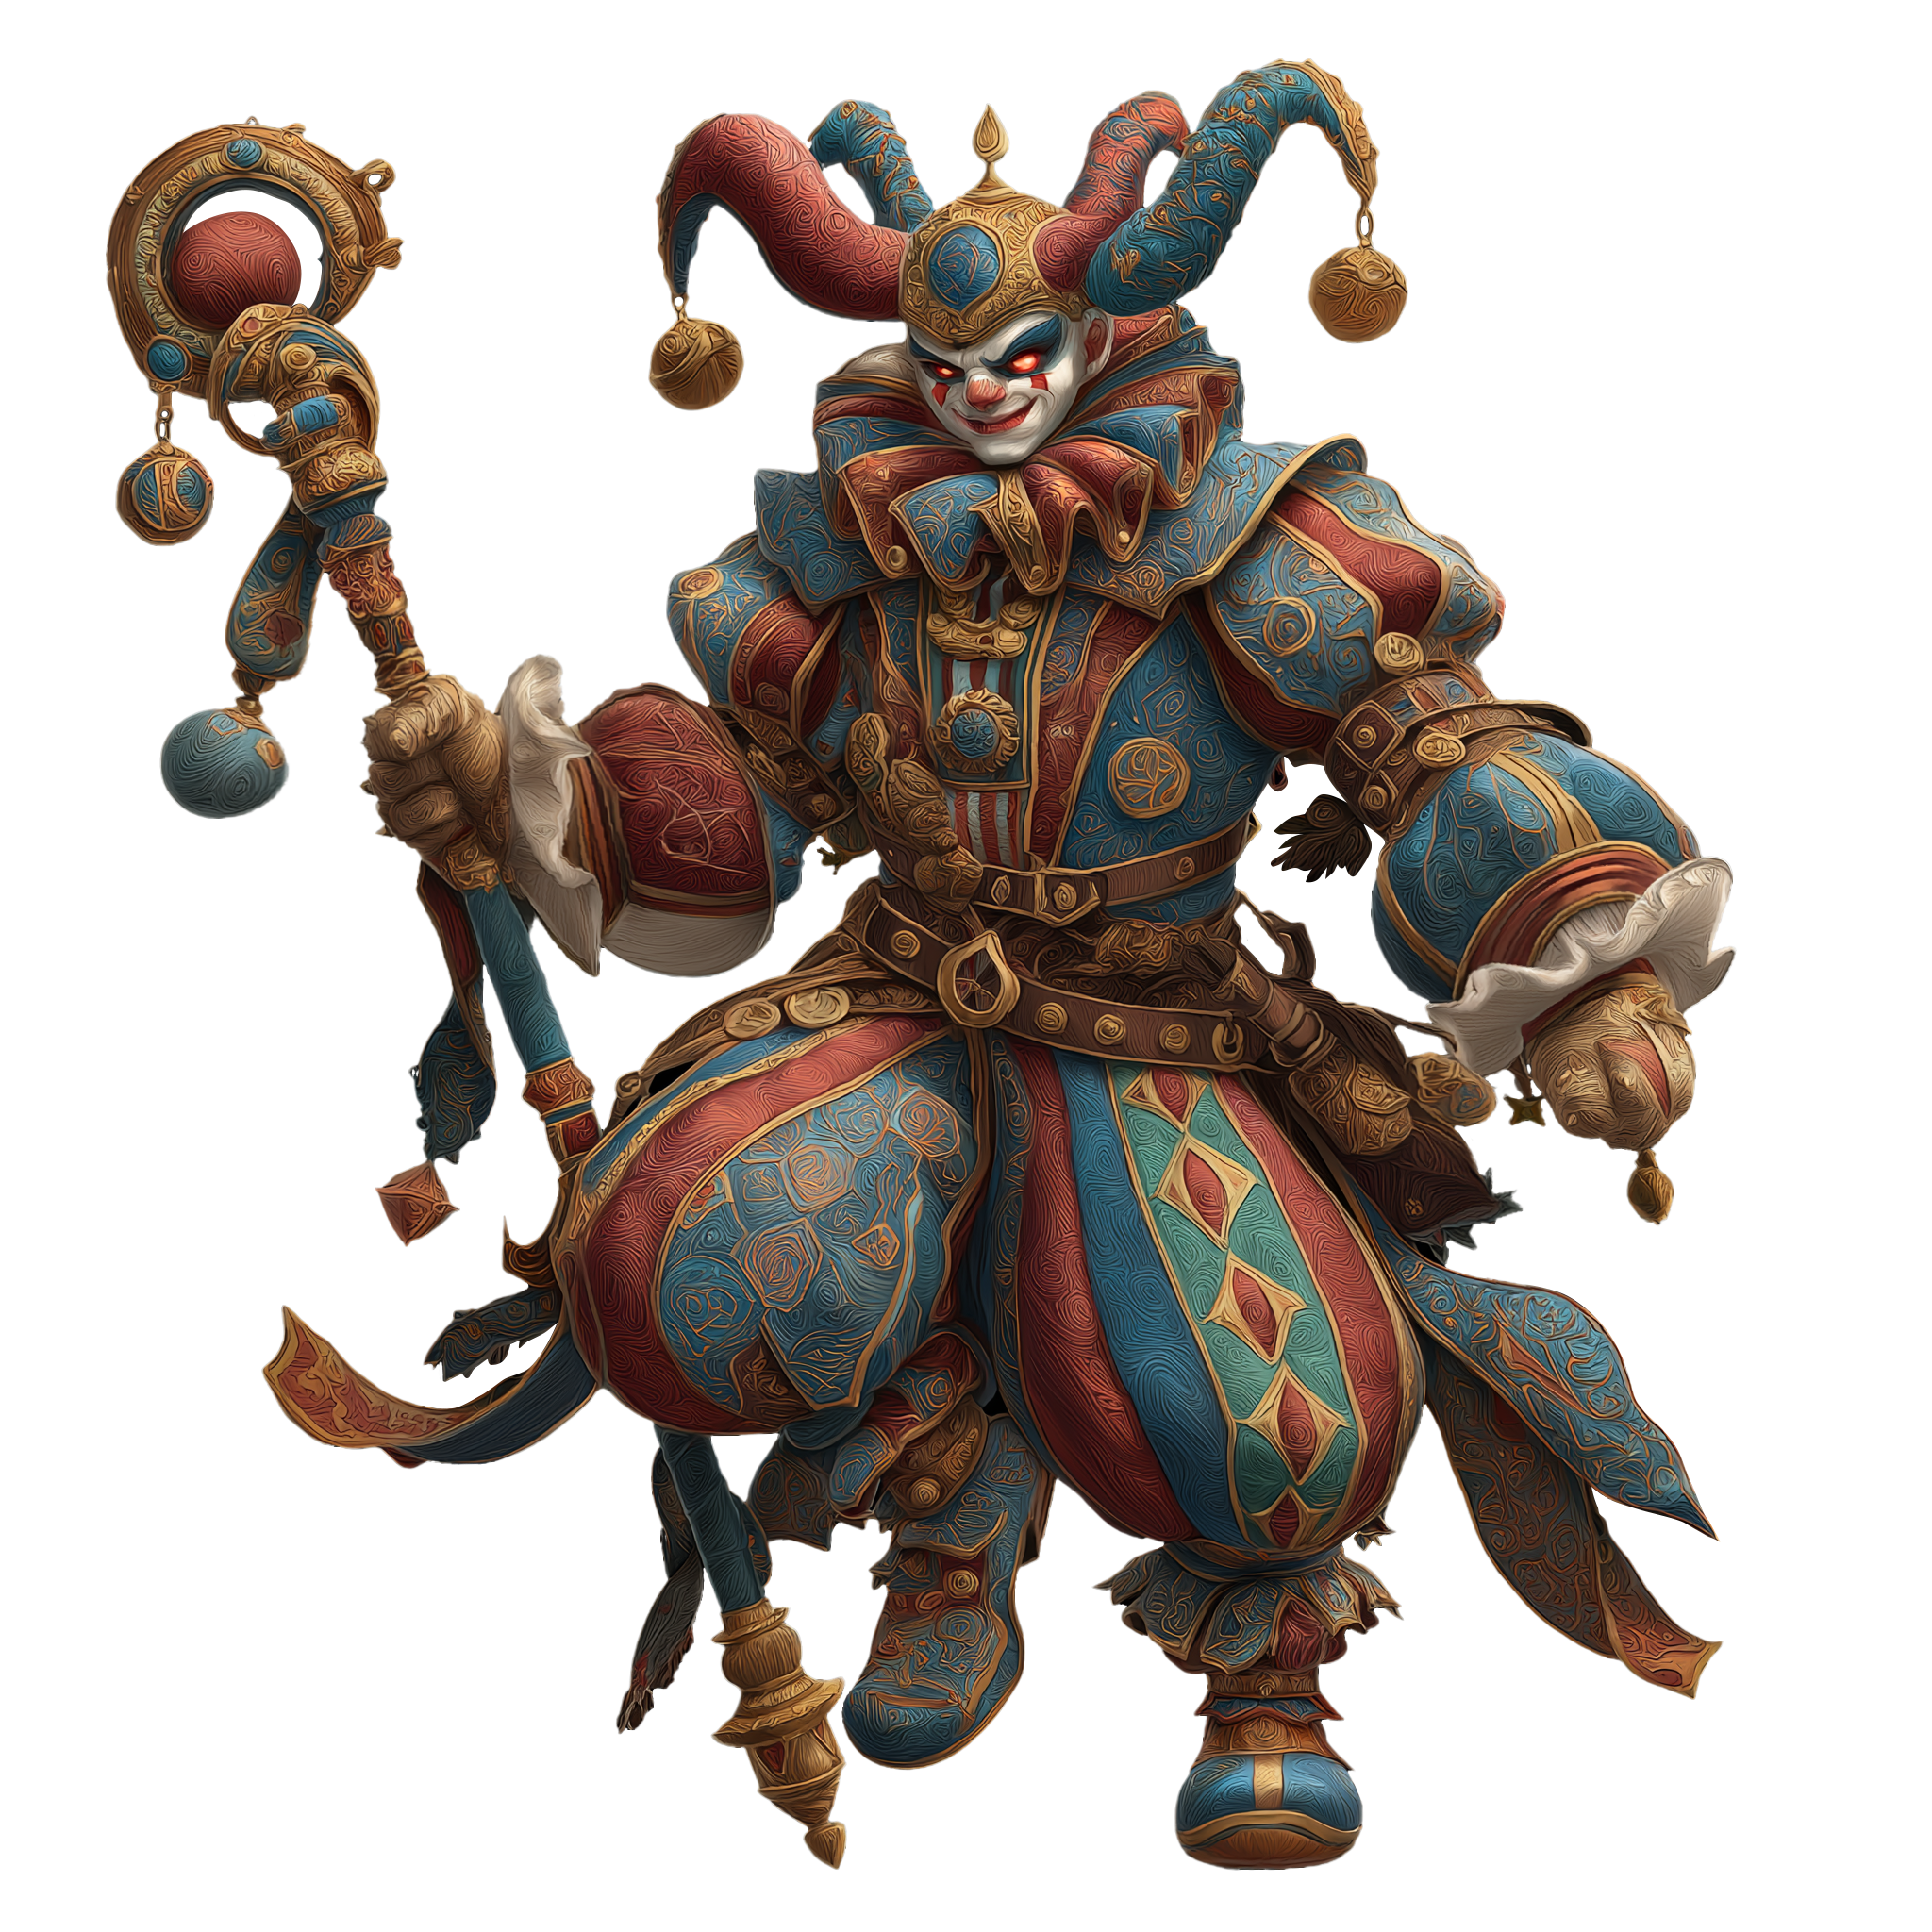
Jester:
You’ve chosen a Jester. Eventually your opponent realizes you’ve chosen a Jester. Unfortunately for your opponent, knowing that you’ve chosen a Jester is not particularly helpful. Because a Jester can be built in wildly different ways.
Maybe you’ll build the Jester as a full support hero, boosting the strength of your stack like a Paladin or a General. Yes, you won’t support a stack quite as well as a Paladin or General would, but you can still provide powerful stack bonuses. Or perhaps you’re building your Jester primarily with the combat skills, developing him into a powerful single-unit warrior — not as strong as a Barbarian but strong nonetheless. Then again, you might also be leveling your Jester along a spell-casting and utility line, counting on the Jester’s powerful disables and battlefield influencing spells. It’s even possible that you’re going down the luck skill route, counting on good odds in the long-run working to your advantage.
Whatever paths you choose, Jester has a variety of ways to disguise which paths he’s taking from his opponent.
We say that Dragon Lords is about Discovering, Developing, Deceiving, and Dominating. Well, the Jester can do all of those things. At bottom, though, the Jester maximizes his effectiveness by repeatedly deceiving his opponents about his intentions. This is why players who are drawn to choosing a Jester first are aligned with the idea that one artfully crafted deception is worth a fortress full of soldiers.
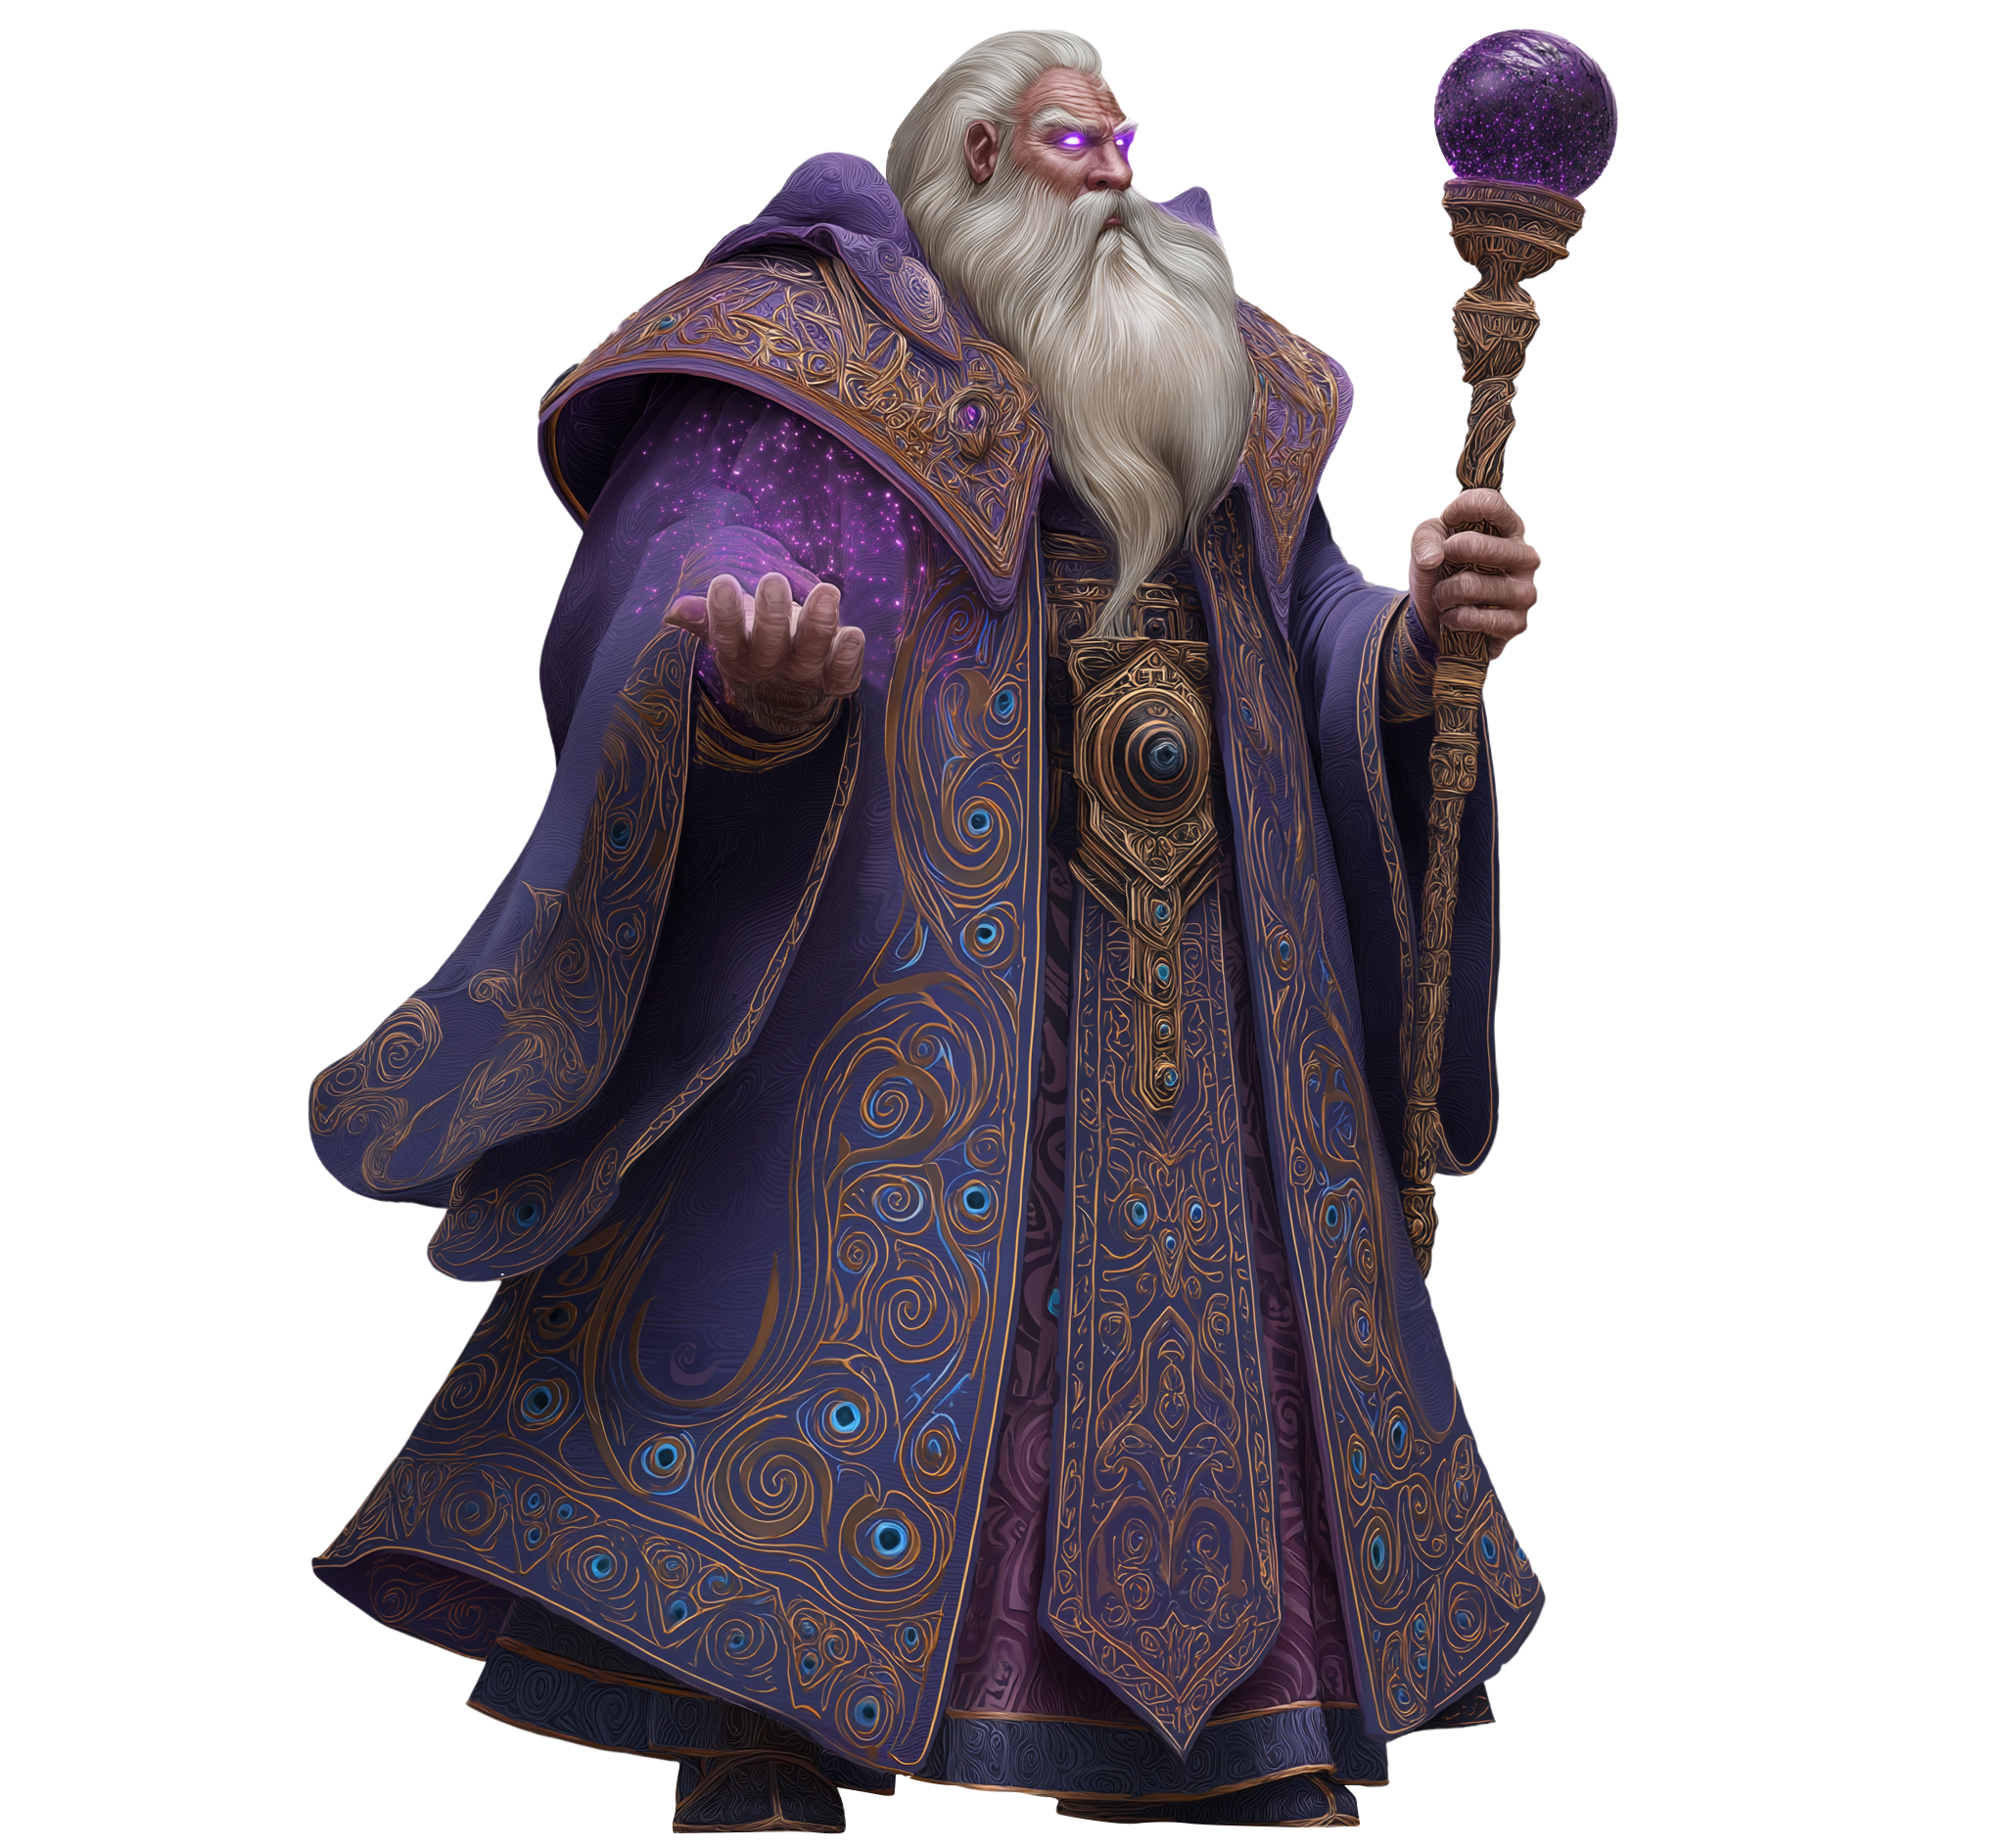
Archmage:
The Archmage can be understood as a utility hero. Obviously, he doesn’t pack the combat punch of a Barbarian, the straight-up stack support of a Paladin or Priest, or the speed and synergies of a Wind Caller.
But what the Archmage does offer is a wide variety of powerful spells which can substantially influence almost any situation. From Arcane Vision reconnaissance, Illusion trickery, the direct power of Lightning Bolts, to the maneuverability afforded by Teleportation, the Archmage is a uniquely useful hero type in Dragon Lords.
Players who prioritize adaptability and flexibility, who recognize the importance of knowing when to duck and when to punch, will be drawn toward choosing an Archmage as their first hero.